INTENDED AUDIENCE: Administrators
Learn how to create and update banners for your learner dashboards.
A banner image can be created with the software of your choice. The default Windows application, Paint, can be used. Applications like Adobe PhotoShop or similar will also work well.
All banners must be 1540 x 320 pixels in size.
When creating your banner image, select any background color, copy/paste applicable images, and/or add appropriate text. Save your banner as a *.jpg file.
To add your banner to your portal, log into your Safety Made Simple portal and follow the steps below:
- Navigate to Settings.
- Select My Portal.
- Select Dashboard.
- Click the button in the middle of the screen to “Edit Banners”.

- There are three types of Banners – you are currently using Image Banner.
- Image Banner – will include a banner image (size 1540 x 320 pixels). Make the entire image a clickable link to have the banner open a designated web page.
- Multimedia Banner – may include video and text.
- Centered Content – text based only.
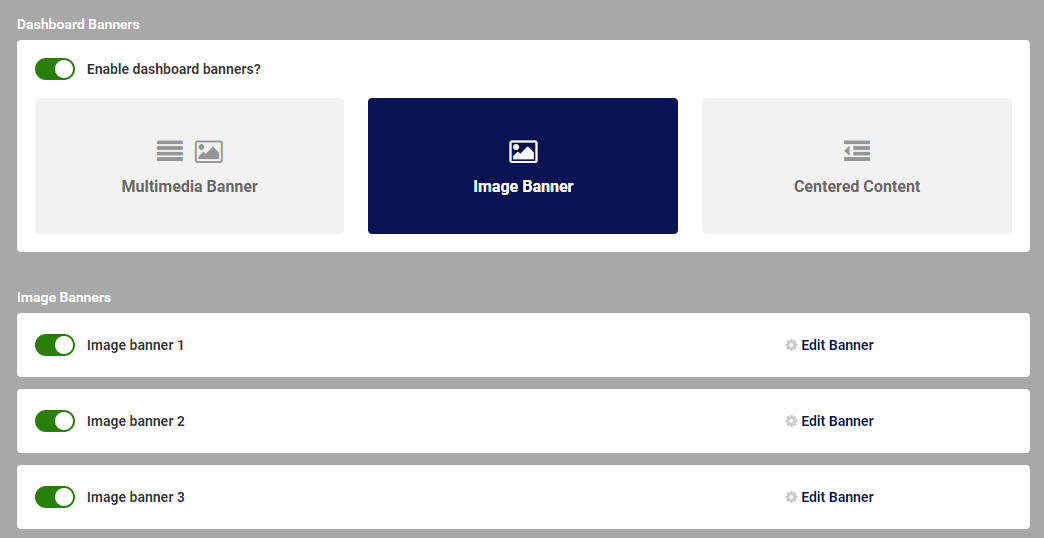
- You may have up to three banners display on learner dashboards. To disable a banner, slide the green slider on the left to be disabled. If more than one banner is enabled, banners will rotate automatically on the learner dashboards.
- To upload or replace a banner, click the appropriate “Edit Banner” link. Upload your newly created banner image and Save. To replace a banner, it is recommended to make sure the new banner is a different file name.
- To open a web page by clicking on a banner, turn on the setting and add the appropriate web page url.
0 out of 0 found this helpful.
